I wanted to share a couple pretty cute furniture redo's I finished a while back, when we had a short break between snowstorms and April showers. It was so nice to be outside! I even got to don a tshirt for a little bit. We had a few days where we got into the high 60's, but I don't think we ever reached the ideal 'sunny and 75!' Now we're stuck inside again. High's barely above freezing, and rain mixed with snow. For like 3 days!! Ughhhh. Talk about California dreamin'......
Anyway! I'm doing it again, aren't I? too much talky talk. Down to business!
Here's my first victim.... Mwahahaha

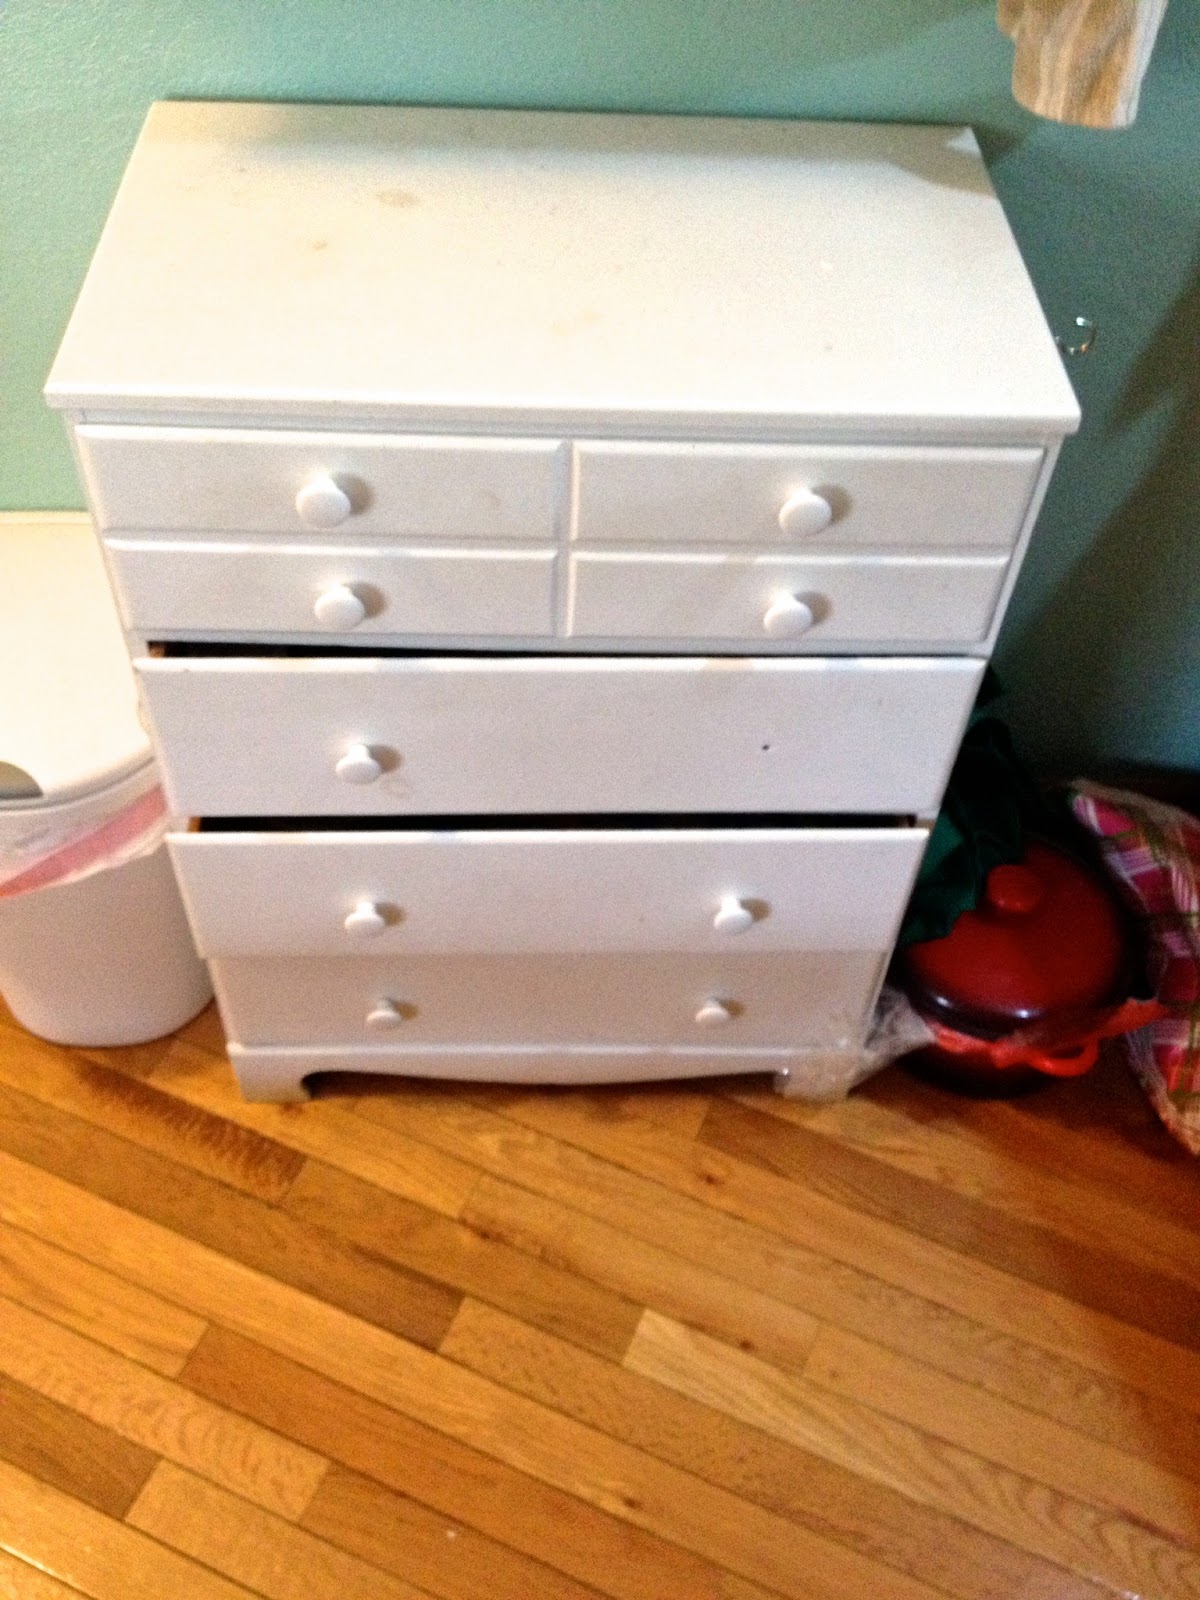
Previously it was in my bedroom housing a fair amount of clothing.. But when we moved to our current apartment, there was a ton of storage room in our bathroom and when all those clothes got relocated, this little dresser came to live in the kitchen! It's great for holding all that mismatched tupperware, saved spaghetti jars that I just know have a new life coming, and a bunch of other stuff. It's actually my spice cabinet right now too!
I really wanted to use chalk paint, but 1) I was too inpatient to order online, and 2) I probably wouldn't have spent the money on it right now anyway. But I had read about making your own using Plaster Of Paris, which I just happened to have an old box of! Yay!


Mixed it up, 3 tablespoons to 1 cup of paint, barely sanded my piece, wiped it down for dust, and slapped this on! It dried super fast. I did two coats in less than an hour I think. I did sand just a little bit between coats, but I probably didn't really need to. I let it dry a good 18 hours or so, then decided it was too shiny and orange-y, so I kinda...colorwashed it, I think. I just mixed a drop of black acrylic craft paint with some water and wiped it on with a rag. I kinda just made it up as I went along. I added a couple coats of wax, and ta-da! I think it turned out pretty nice!
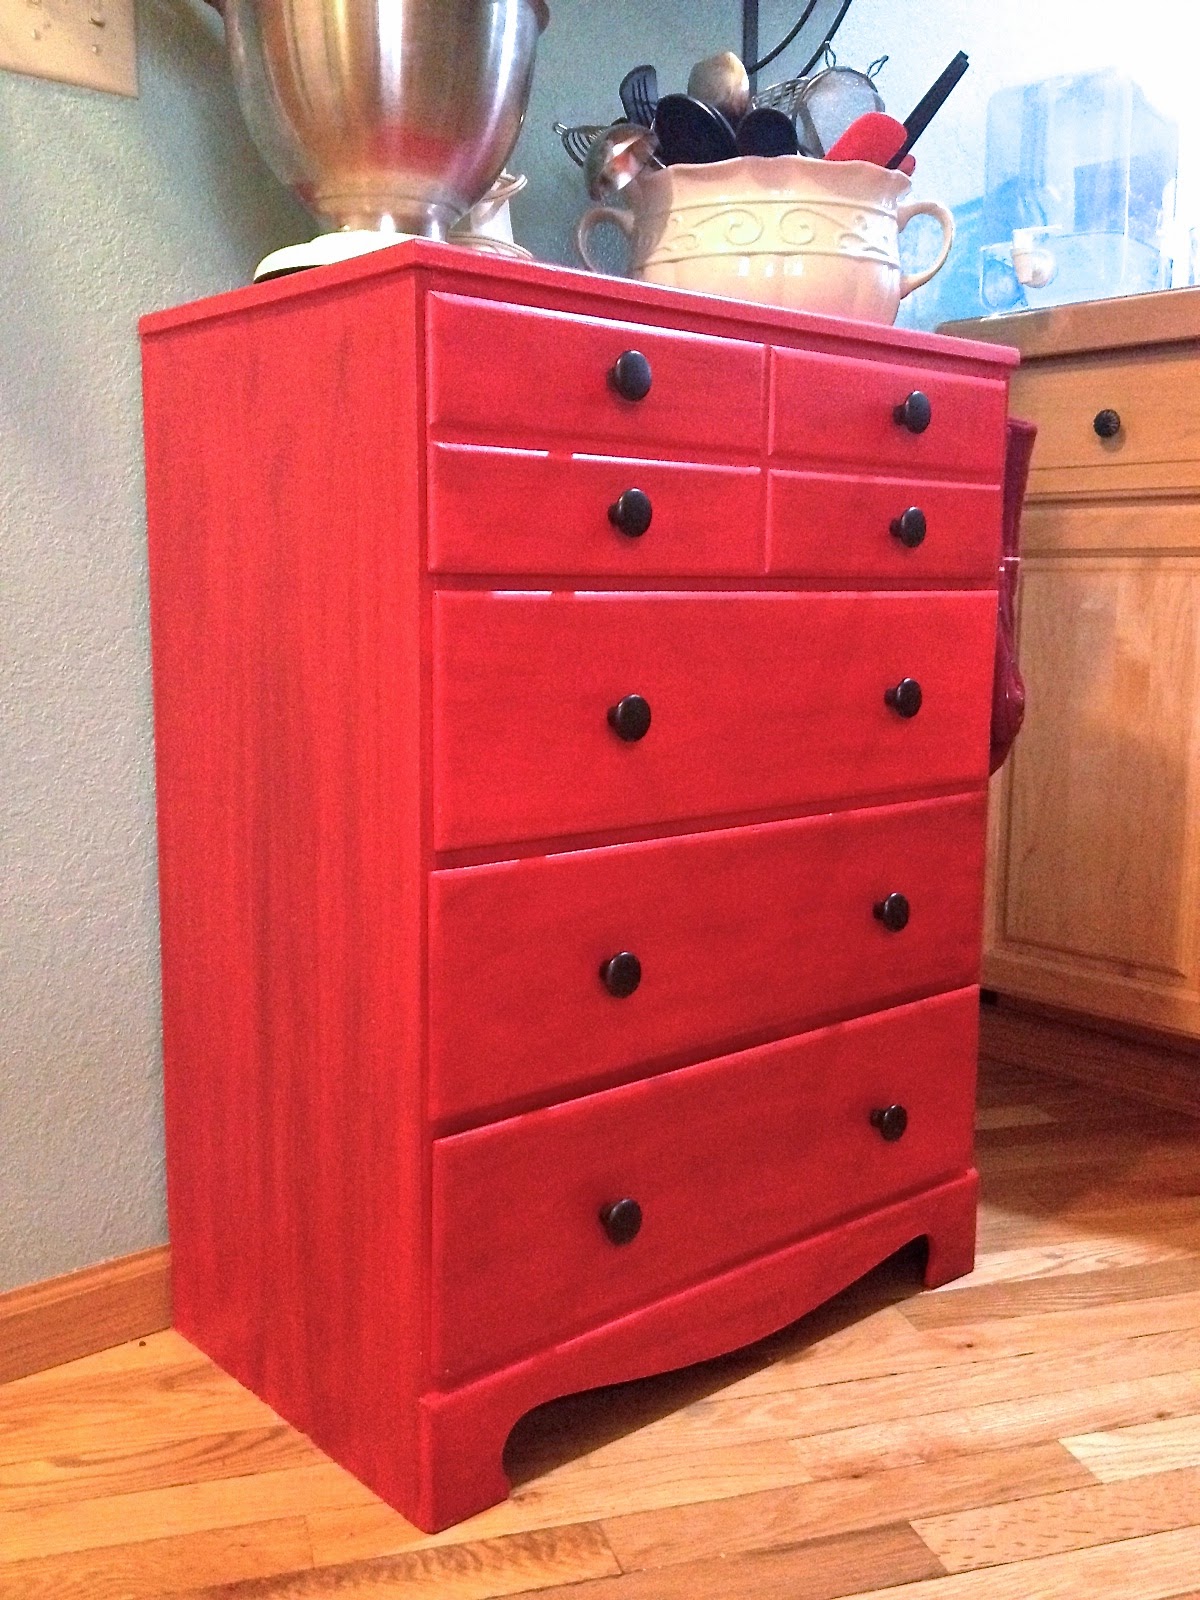
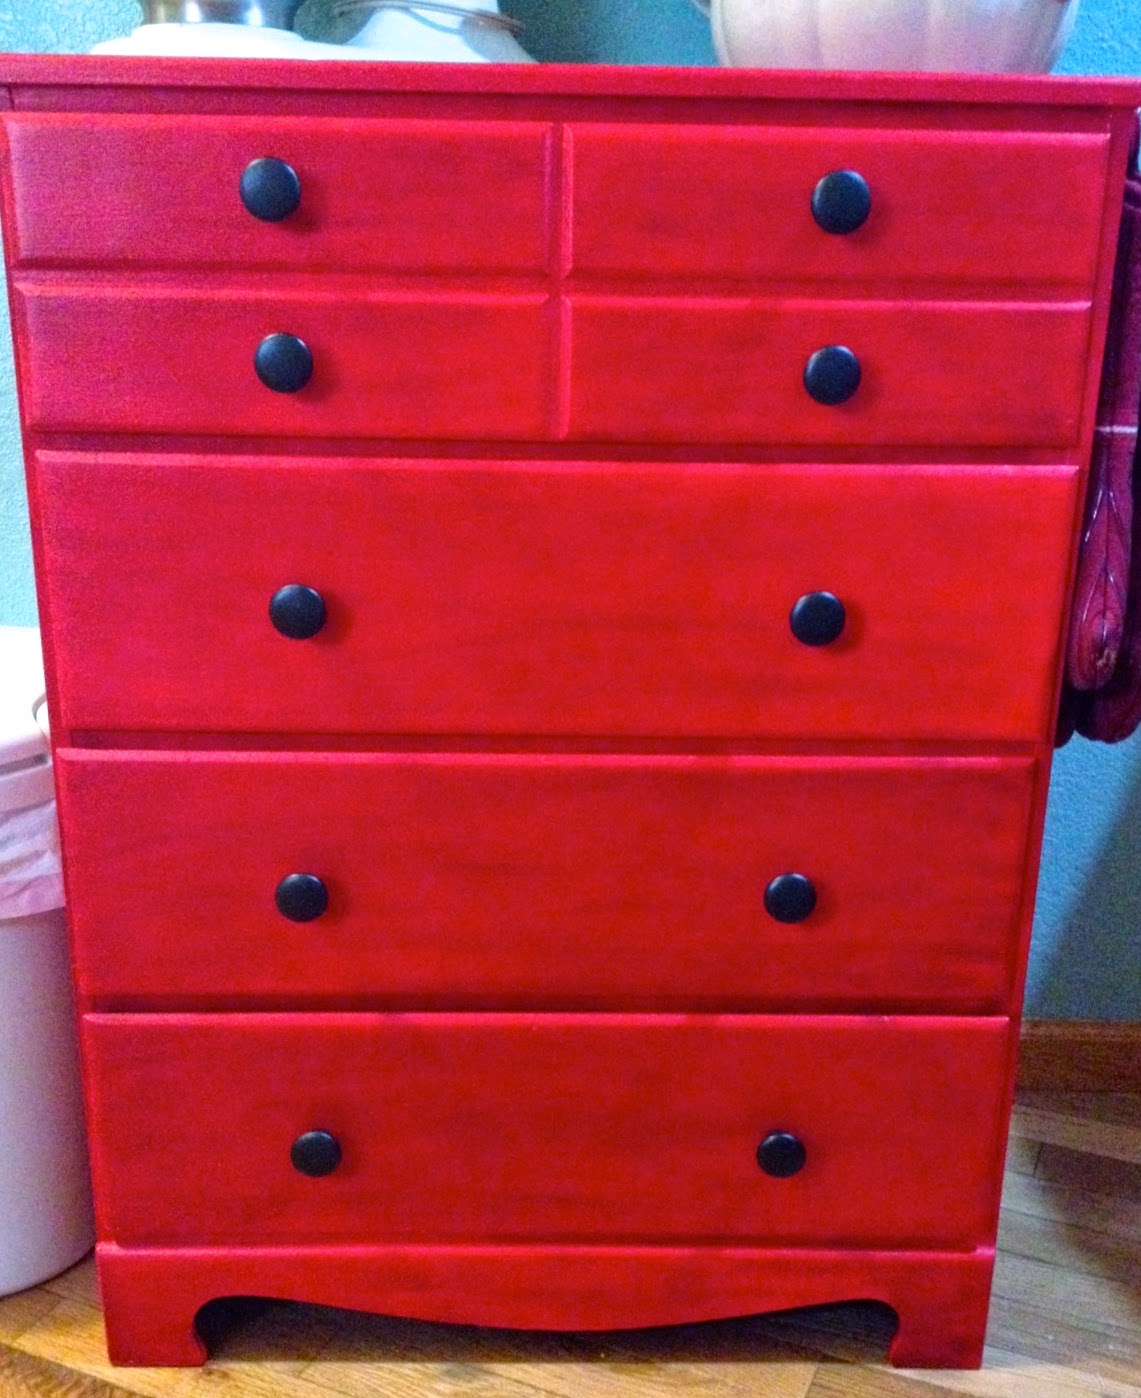

I didn't even add new knobs - those are the same ones it had, I just gave them a quick painting with some 'oil rubbed bronze' spray paint and voila! This adds so much storage to my kitchen. I love it!

On to victim number two...

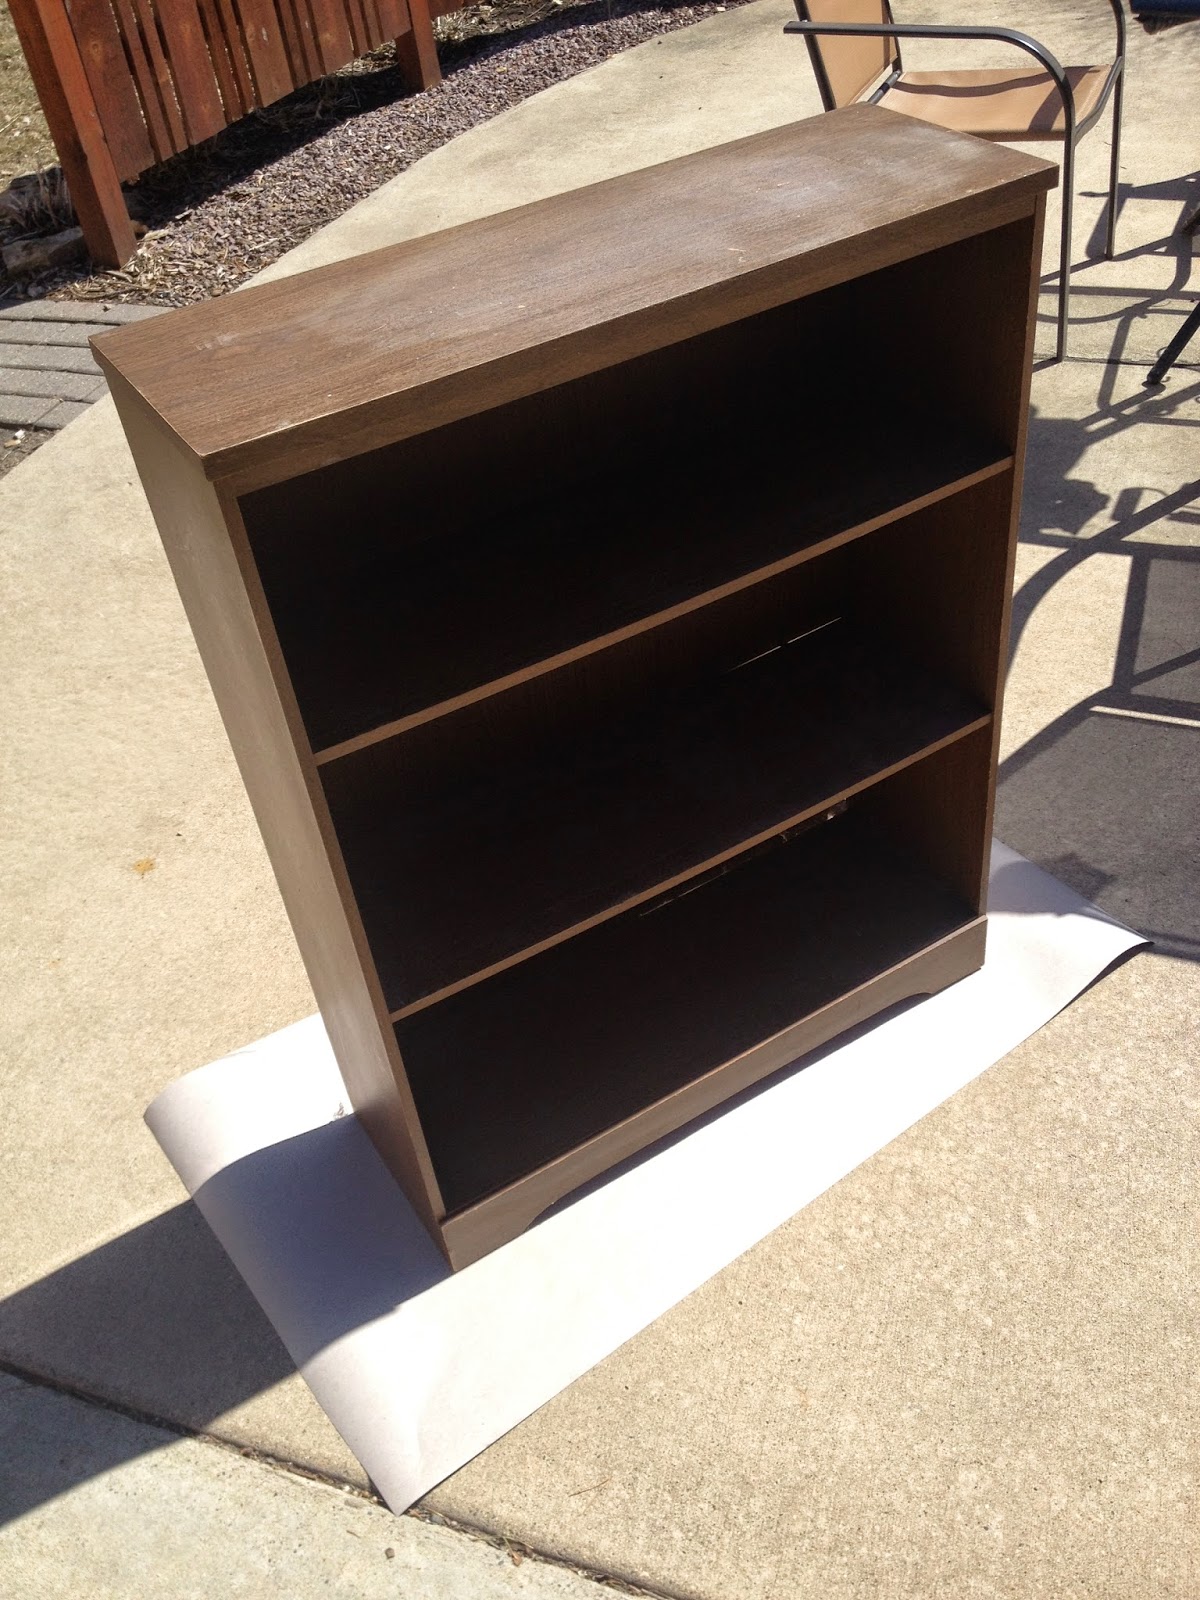
Just a homely little bookshelf that I picked up off the curb when our neighbors moved out last summer. It's made a great entry-way storage solution, storing bags, purses, shoes, tools, and, I've made great space saving use of the top as my ironing board lately!
I used the same paint, except I added a few drops of my black paint before I used it this time - it made the perfect color when finished - without all the extra work (and slight streakiness) of the whole color wash ordeal! (Not that I'm complaining, it was pretty fun :) I did three coats, some light sanding, and a couple layers of wax, and ta-da again!

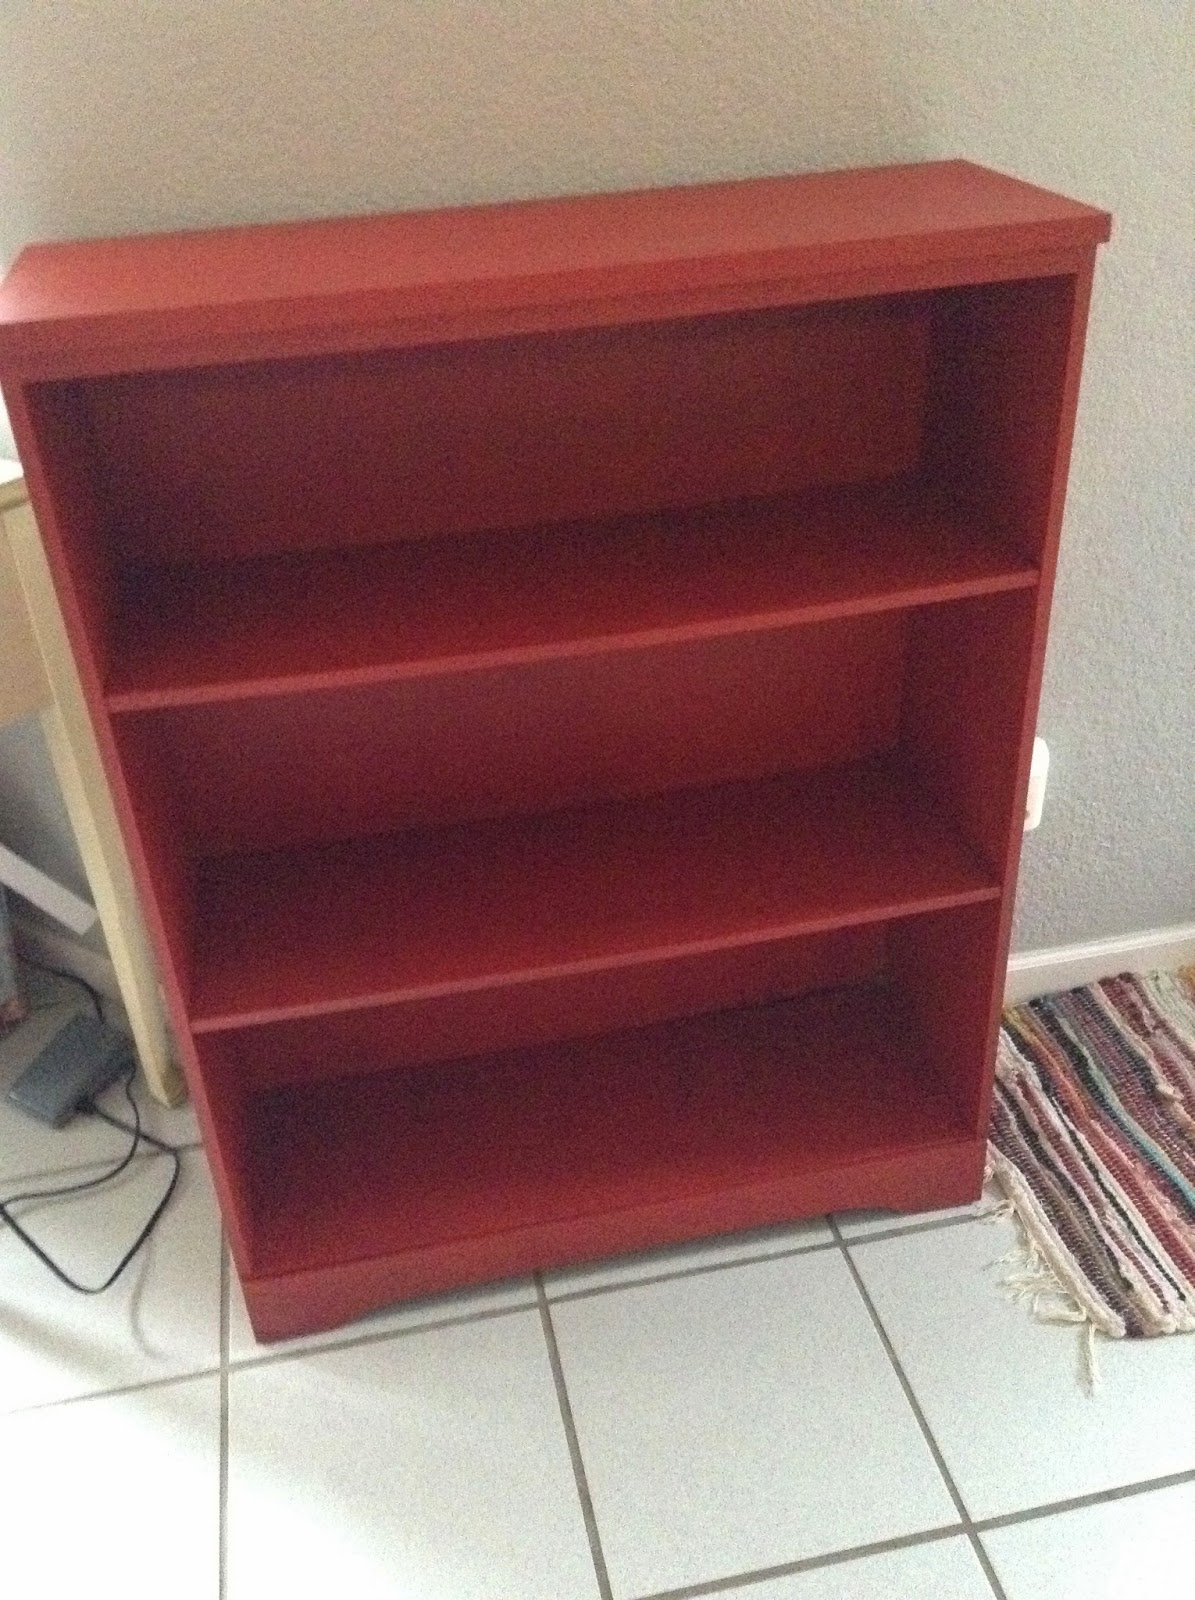
Not the best pictures, but you get the idea. It's pretty, functional, and really durable! I've slid some heavy wooden boxes around on the bottom shelf, and it hasn't scratched or rubbed the paint off at all! Woot woot! :)
Thanks for checking it out!
No comments:
Post a Comment