Thursday, March 27, 2014

The printable bread recipe

No work today!! Yay! So I had big plans for 

a) sleeping in till 8, and 

b) completing several errands and projects - projects I was really excited about!! 

Sadly, the day didn't go as I had hoped :( 
It was off on the wrong foot way before the start... Woke up at 5 am (thanks to the nonsensical meowing cat) and had a splitting headache. We wrangled the cat back to silence, and then I sent myself back to sleep, hoping I would wake up in 3 hours headache free and project ready! That didn't turn out to be the case though, I've been fighting with this stupid thing all day now. PMS SUCKS! So to save this day from being a total waste, I wanted to at least get this recipe on here for the people. :) 


Sourdough Starter and Bread 

First Time (omit if you received a starter from someone else)

1 cup warm water
1/2 cup sugar
3 Tbsp instant potato flakes
2 1/4 tsp. dry yeast

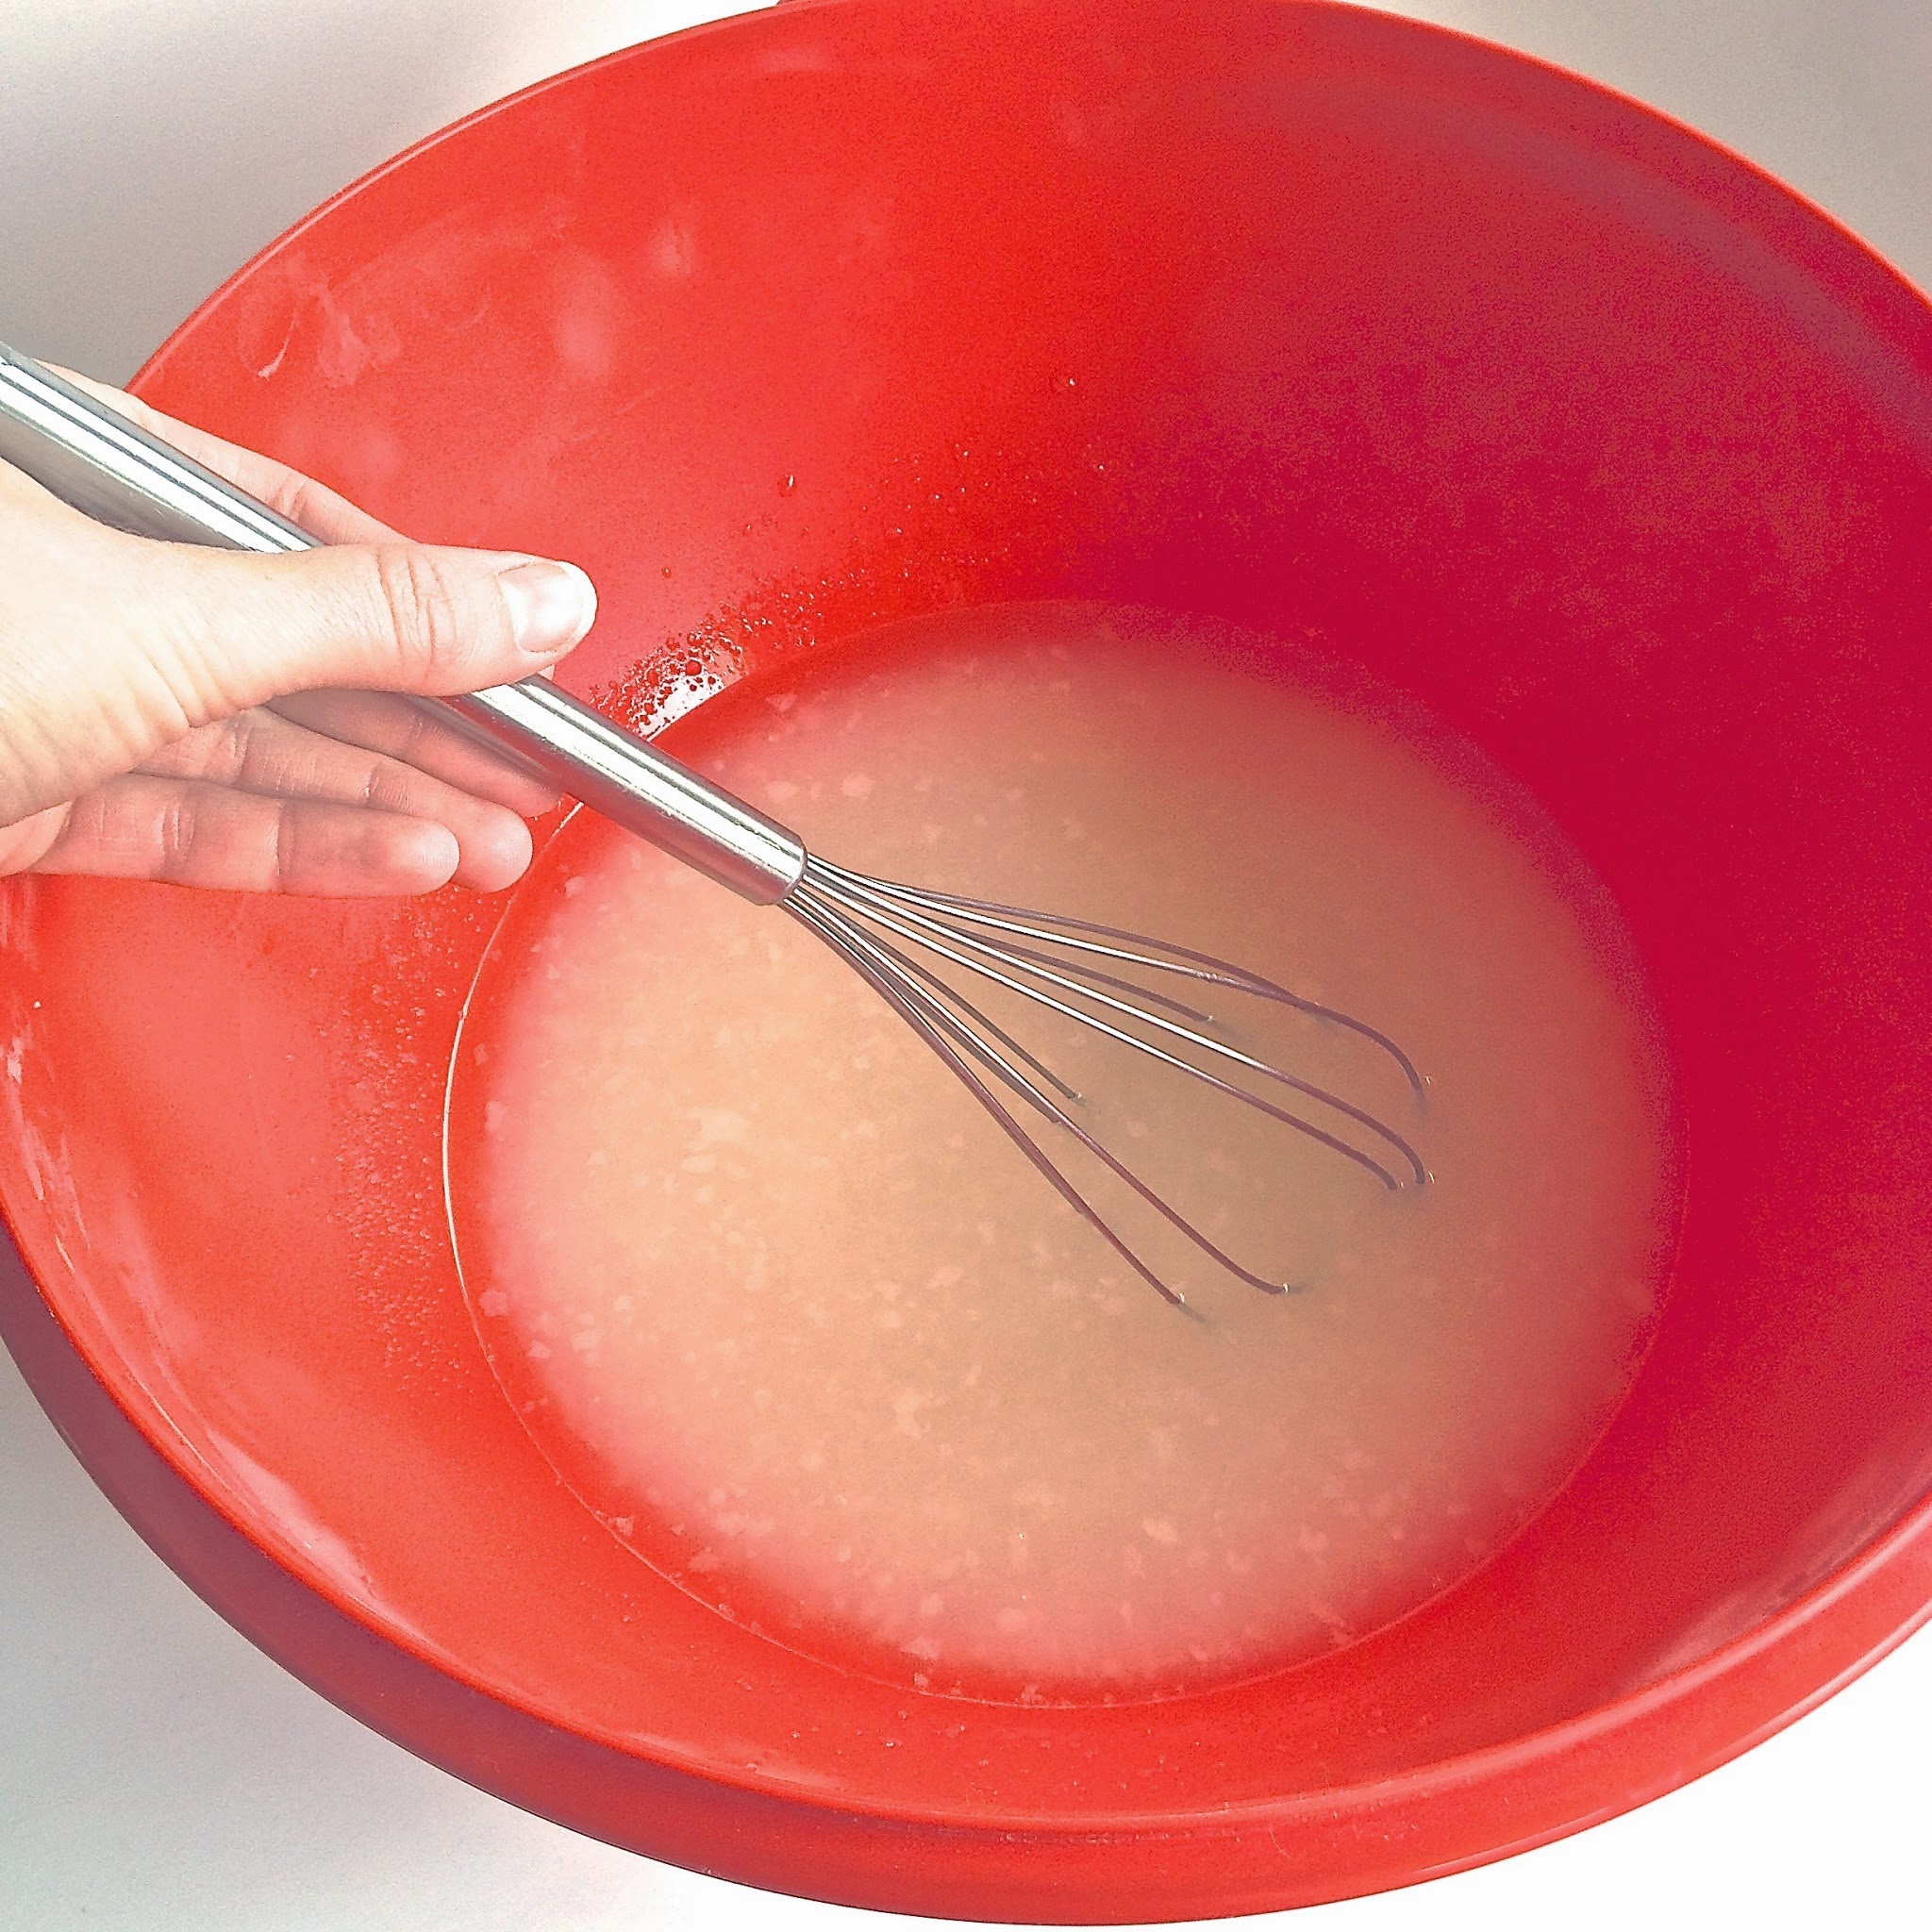
Mix well in large bowl, cover loosly, allow to ferment on counter for 2 days. After 2 days, you can choose to immediately continue with feeding and bread making process, or refrigerate in coverd glass jar 3-5 days. 

Subsequent feeding 

1/2 cup sugar
3 Tbsp. Instant potato flakes 
1 cup warm water

Add sugar, potatoes, and 1/2 cup water to large bowl and mix well. Pour in starter, use remaining 1/2 cup water to loosen and rinse any settled sugar/potatoes from jar. Mix slightly. Cover loosly and let stand on counter 8-12 hours. Stir mixture and measure out 1 cup to make bread. Return remaining starter to refrigerator. Repeat this process every 3-5 days. If not making bread, give away or throw out 1 cup of the mixture before refrigerating. Do not go longer than 5 days without feeding.

To make bread

1 cup starter 
1/4 cup sugar
1 tsp. salt
1/2 cup vegetable oil
1/12 cups warm water
6-7 cups flour (feel free to experiment with flour ratios) 

Mix first 5 ingredients in large bowl. Add flour 1-2 cups at a time. Amount needed will vary, depending on humidity, etc. Incorporate as much as you can, leaving your dough tacky, but not sticky. Pat top with oil, or spray with cooking spray. Cover loosly and let rise 8-12 hours. 
Punch dough down, turn onto floured surface and knead briefly. Divide into 3 parts, and place in oiled loaf pans. Pat tops with oil, or spray with cooking spray. Cover with waxed paper and let rise 4-6 hours, until dough almost doubles. 
Preheat oven to 350. Bake loaves for 30-40 minutes, until golden. Remove from pans and brush tops with melted butter. Be cautious of the steam if you cut into it right away!! 

*Just a note on the scheduling. I've found that it works well to feed the starter in the morning, make the dough in the evening, decide into loaves the following morning, and bake in the early afternoon. That saves you from being stuck baking bread at 2 am. Unless you're normally up then, in which case, go for it! 


So that's it!! I'm sure it sounds complicated, but trust me, it's simple once you get the hang of it. The most hands on part of is adding the flour to make the dough, and that only takes maybe 15 minutes! 
Let me know how yours turn out!! :) 


Tuesday, March 25, 2014

The Secret Sourdough Recipe (and method (and tips and tricks))

(Excuse the messy looking pans... let's just say they're, vintage.)


Are you as excited about this post as I am?! Today you get to find out how to make my Mom's legendary sourdough bread!! I can't wait to share it :) It's super simple and really fun. I remember how much we enjoyed helping Mom make it when we were kids - so I'm sure if you have little ones they'll love helping out. 


So where do you start? If you're like me and had no one to share a starter with you...you do this.
(Or, if you live in the greater Twin Cities area, give me a call and I'll set ya up. ;)

Yes, this stuff, the out-of-the-pantry-for-
emergencies-only potato flakes, in bread.
Trust me. 

Otherwise, here is the recipe for the starter. (from Just a Pinch)


1 cup warm water (I make it pretty hot - our hottest tap water)
1/2 cup sugar
3 tablespoons instant potato flakes
1 pkg. (2 1/4 tsp.) dry yeast


Mix together in large mixing bowl. I use this beauty...
(Yay, tupperware wedding gifts!)


Cover loosely and allow to ferment on the counter for two days.
I just sat the lid to my bowl on, without sealing it. You can also use a clean dish towel or wax paper.

After two days, it will be bubbly and foaming and wonderfully fermented smelling. Now...

mix together:
1/2 cup sugar
1 cup warm water (again, hot is fine)
3 tablespoons instant potato flakes

Mix well and add to starter, then mix slightly.
It should look somewhat like this stuff...


Now let that sit out, covered loosely, another 8-12 hours. You're almost ready to make bread!
After the 8-12 hours, stir, measure out 1 cup for making bread, and pour the rest in a glass jar and store in the fridge. Like so...


Now you get to make the actual bread! Take your 1 cup of starter, and put it back in your bowl. 
Add
1/4 cup sugar
1 teaspoon salt
1/2 cup oil (canola, vegetable, EEVO, anything tasteless)
1 1/2 cups warm (hot tap) water
6-7 cups flour
I usually start with 1 cup wheat, then add 5-6 cups all-purpose or bread flour. Feel free to mix it up and give different ones a try. Never know what you might find that works great - just make sure you come back and tell me! 

Mix all ingredients in your big bowl. I use a whisk, a wooden spoon, and sometimes my (clean) hands! 

Once your flour is incorporated, (you want your dough tacky, but not sticky)


 pat top with oil or spray with non-stick cooking spray. Cover (again) and let rise 8-12 hours. 

This is what it'll look like.


Punch it down and squish out as much air as you can. Am I the only one who thinks this is like, the funnest thing ever? Pure joy here guys. Call me crazy. 


Ok so now you want to divide it into three loaves, and put in greased loaf pans, like so...


It doesn't matter if they're not perfectly evenly divided. Or even if you don't have loaf pans. Bread tastes great no matter what shape it's in. :) 


Oil tops, cover, and raise another 4-6 hours. Once your loaves look nice and rounded up, preheat oven to 350 degrees. Bake loaves for 30-40 minutes, until golden. If I'm doubting doneness, I use the upside down trick... Pop a loaf out of the pan, and if a tap on the bottom sounds hollow, it's done! 

Remove from pans and brush tops with melted butter. (Try to) let cool a couple minutes before you devour it! I hope you like it!! 

I'll post the printable recipe tomorrow... it's really a lot easier than it sounds. Anyway, it's past my bedtime right now! Thanks everyone :) 


Monday, March 24, 2014

My favorite photos

Since I'm new here, I wanted to dig back in my personal archives and share a few of my favorite photos from the past year or so. I hope you enjoy them :) I'd love to hear any comments or feedback to know whatcha'll are thinking!

Our baby girl Zadee

A rare sunrise I was awake for
The only good thing about an ice storm...


Lastly, I thought the colors in these two went together well


Mom's Sourdough Bread, Part 1


  This stuff... This stuff is a real treat. You can't beat homemade bread, fresh out of the oven, the whole house filling with it's warm, heavenly aroma. Their golden tops glisten with melted butter that drips slowly down the side. I usually can't resist having a slice (or several) about three whole minutes after it's out of the pans. This isn't really a typical sourdough starter... it comes out softer and sweeter than you expect when you hear 'sourdough.' I think (but don't quote me on this) that it's called sourdough more because of the method... starter, fermentation, etc. Don't be intimidated though,  IT'S SO EASY!!


I think my oldest memories of this bread goes back to my childhood, circa 1997... Peachtree Drive, a little house outside Atlanta, Georgia, visiting my Aunt. She would make this bread, then in the mornings we would have it toasted, slathered with butter, with farm fresh eggs, sunny side up. Mmm! Still a favorite of mine!


For years after that my mom would make it, off and on. We almost always knew someone else who had a starter to share, in the cases where something happened and her started died, or she decided to take a break from making it and threw her starter out. It was always pretty easy to get another one.

Enter present day - Mom doesn't have the starter. I live 500 miles away from anyone else I know of who might have it. And I have a craving for that familiar soft, warm, buttery deliciousness. So what else am I gonna do than try and make it myself? I mean, what's a girl to do? I dug out my copy of her instructions and started meditating...

If that's all it takes to feed the starter, maybe that's all the starter really is. Fermented sugar, water, and potato flakes. So I mixed them together excitedly, let it sit on the counter a full 12 hours, and continued on with the recipe! I WAS GONNA HAVE THE SOURDOUGH BREAD!! 
About 32 hours after I started, I ended up.... with a soggy lump of flat dough, and a heart full of disappointment. 

It didn't keep me down though, no ma'am, I am more determined than that! After some intensive internet searching, (ok, it was actually really easy to find) I discovered the secret! I found it here. Her recipe is really close to my mom's, just with the additional info - you have to 'start' the starter with yeast! Makes perfect sense, right?
So I did it all over again, this time making the addition of 2 1/4 teaspoons yeast. I let it sit out for two days this time, then refrigerated it for another three days before feeding, splitting, and making the bread. But boy was it worth the wait! 

Come back tomorrow for the whole recipe and the rest of my process! 


Sunday, March 23, 2014

Hello, Hola, and Bonjour

We've all heard 'honesty is the best policy,' right? 

Well, in vein with trying to live life honestly, I will honestly tell you, this is my first ever blog post. Woah. So why am I here? Well, I have my fingers in several (figurative) pies...

I've always loved writing. Seriously, since I was like, 10 years old. It's been an under-developed hobby for years. Along with that, some people think I'm funny. I do believe laughter is the best medicine, and I hope I can give y'all a laugh or two.


I love cooking, baking, trying new recipes (Pinterest, anyone?) and, occasionally, setting off the smoke alarm. Occasionally. 

Crafting has been a huge part of my life. I love me some DIY projects, be it scrapbooking, card making, furniture painting, or designing and decorating on a dime. Also, I have recently started to take sewing more seriously. I even have a snazzy little Etsy shop! 

I'm also trying to become better at photography. Maybe it's because I refuse to post ugly food pictures on Instagram, or because on Etsy, a photo really does speak a thousand words. 

Put all those together, throw in some random kicks and giggles, and I think I'll be able to make a fun blog for the world to see. Hopefully I can bring something tasty, something crafty, or at the very least, a smile, into somebody's day. So here is to, the beginning!